Halloween is a time to show off your creativity, from your costume to the decorations, and even the bag you use for trick-or-treating! Skip the store-bought plastic buckets this year and make your own DIY Trick-or-Treat Bag that’s unique and reusable. Whether your style is spooky, cute, or inspired by your favorite character, this project is an easy and fun way to craft something special for Halloween night.
Adding Fairfield batting or interfacing gives your handmade bag extra structure, softness, and durability, so it holds its shape (and your candy!) while being comfortable to carry. This simple project can be customized for any age or theme and reused year after year.

DIY Trick or Treat Bags Supplies
- Fabric in Halloween colors or prints (cotton, canvas, or felt work great)
- Fairfield batting (for softness) or interfacing (for structure)
- Sewing machine
- Scissors, pins, and thread
- Handles or webbing straps
- Iron-on vinyl, felt, or fabric paint for decorating
- Optional: Fairfield Shield Liner Fabric to protect the inside from sticky candy messes

Basic Instructions
- Cut the Fabric:
Cut two rectangles (about 12″ x 14″) for the front and back of your bag. Cut matching pieces of batting or interfacing for added body and strength. - Layer and Quilt (Optional):
Place your fabric pieces with the batting or interfacing in between, then stitch simple quilting lines to hold everything together. This step adds fun texture and keeps your bag sturdy. - Assemble the Bag:
Place the front and back pieces right sides together and sew along both sides and the bottom. Turn the bag right side out. - Add Handles:
Cut two strips of fabric or webbing for handles (about 18″ long each). Attach them securely to the top edges of the bag. For extra comfort, add a thin strip of batting inside each handle before sewing. - Decorate with Personality:
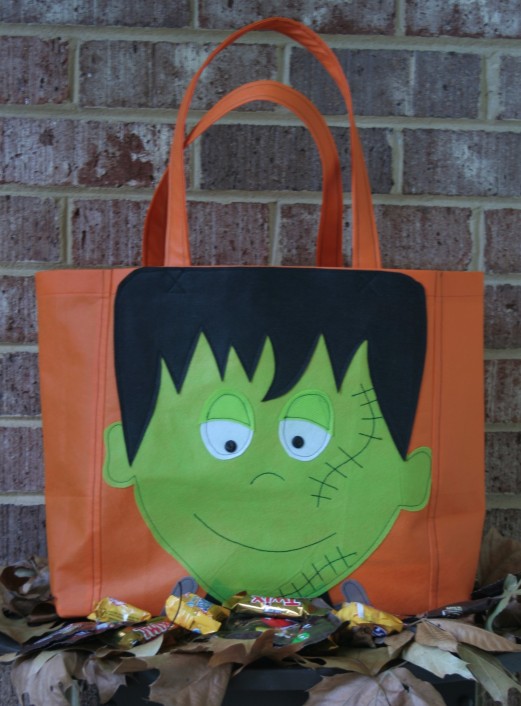
Now for the fun part! Use felt, iron-on vinyl, or fabric paint to bring your bag to life. Make a spooky face (like we did with this Frankenstein bag), write your name, or match it to your costume theme.
Design Ideas
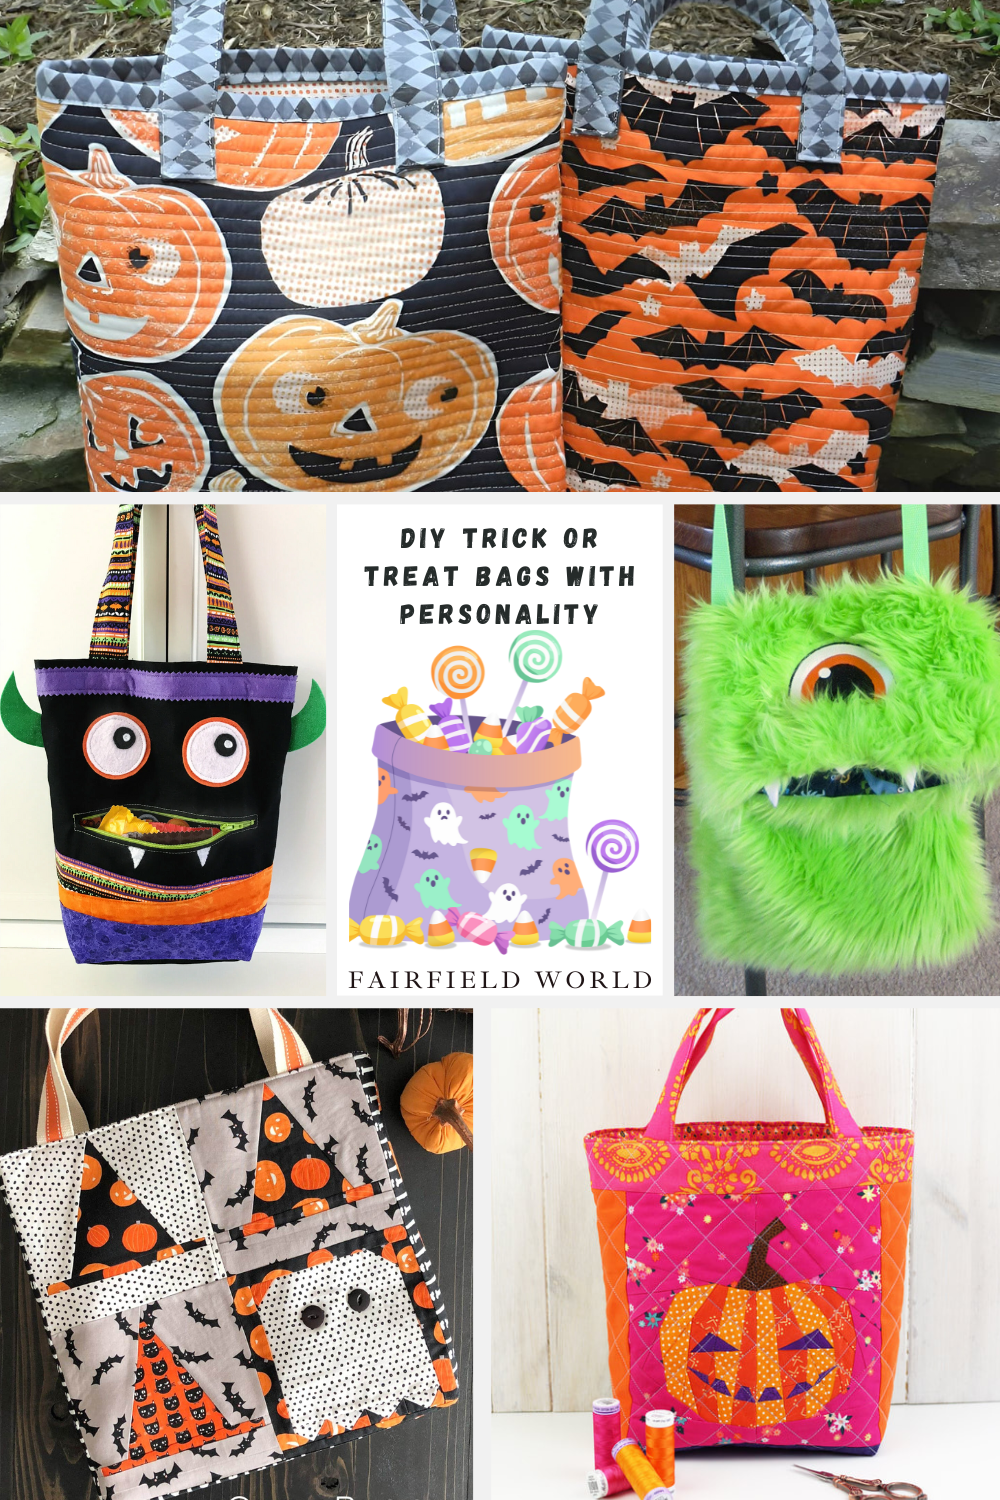
There are lots of fantastic tutorials that include free patterns and step-by-step instructions. Here are a few projects that will kick start your trick or treat bag making venture. Check out these fun ideas:

Apple Green Cottage’s Trick or Treat Bag to Sew shows how to combine different fabric patterns to create your own Halloween tote. This larger sized bag is perfect for big candy hauls!

Polka Dot Chair’s Quilt Block Tote Bag Tutorial uses four 8″ x 8″ quilt squares to make a fun bag for trick or treaters.
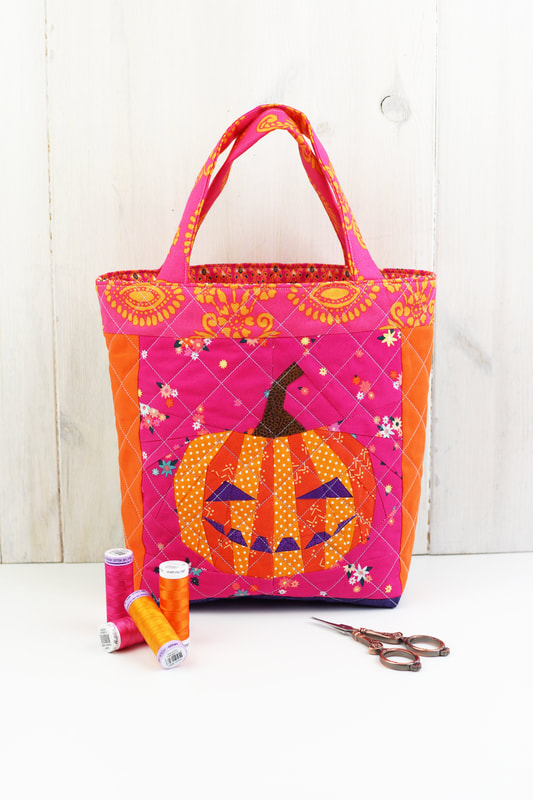
Joe June and May has a colorful option with her Best Trick or Treat Bag tutorial. I like the bright colors she uses, as they’ll help kids be noticed as they walk.

DIY Tutorial Ideas uses fun, bold prints to create their Quilted Tote Bag Tutorial. The straight line quilting helps give the bag structure.

Crafting Cheerfully uses zippers to give this monster bag a fun and functional mouth in her DIY Monster Trick or Treat Bag tutorial.

We All Sew has a hair raising project to try! Their DIY Fuzzy Monster Tote is furry and fun!
Handmade trick-or-treat bags don’t just look better—they’re more sustainable and meaningful. Plus, they can be reused year after year or repurposed as reusable tote bags after the holiday. With a little imagination and the right Fairfield materials, your Halloween haul will look even sweeter!