


Spring is in the air, and Easter is just around the corner! What better way to celebrate than by creating adorable plush Easter bunnies and chicks? Whether you’re crafting for your own home decor, gifting handmade treasures, or making something special for little ones, Fairfield World’s high-quality fiberfill products will help bring your creations to life. Here’s a general guide to help you get started, along with some free and fun patterns you can use.
Plush Easter Bunnies & Chicks Basic Instructions
While each project will have a slightly different supply list, these are some of the most commonly used materials used for crafting Easter plushies:
- Poly-Fil® Premium Fiber Fill
- Soft fleece or felt fabric in pastel colors
- Sewing machine or needle and thread
- Scissors
- Fabric glue (optional)
- Safety eyes or black embroidery thread
- Pink embroidery thread for bunny noses
- Small orange felt pieces for chick beaks
- Ribbon or lace for decorative bows
Again, steps may vary based on the project you want to make, but these are the general steps you will follow to make your own Easter plush toy:
Step 1: Cut Out Your Fabric
Choose a simple bunny or chick pattern. You can find free printable templates in this post (just scroll down!) Cut two pieces for the front and back of your plushie. For a bunny, include long ears, and for a chick, add a small wing shape if desired.
Step 2: Sew or Glue the Edges
Place your two fabric pieces together with the right sides facing in. Sew around the edges, leaving a small opening at the bottom for stuffing. If sewing isn’t your thing, fabric glue can be used as an alternative—just allow extra drying time before stuffing.
Step 3: Stuff with Poly-Fil
Gently turn your plushie right-side out. Using small handfuls of Poly-Fil Fiber Fill, stuff your bunny or chick until it reaches your desired level of fluffiness. Be sure to distribute the stuffing evenly for a smooth, cuddly finish.
Step 4: Close the Opening
Once your plush is stuffed to perfection, sew or glue the opening shut. If hand-sewing, use a hidden stitch to keep the seam as seamless as possible.
Step 5: Add Facial Features
Give your plush its personality! Use safety eyes or black embroidery thread to create eyes. Stitch a tiny pink nose for the bunny and attach a small felt beak for the chick. You can also add rosy cheeks with a dab of fabric paint or blush for an extra touch of cuteness.
Step 6: Finishing Touches
Tie a small ribbon or lace bow around the bunny’s neck or add tiny felt feet to your chick. Get creative with accessories to personalize your plush Easter friends.
Plush Easter Bunny and Chick Patterns
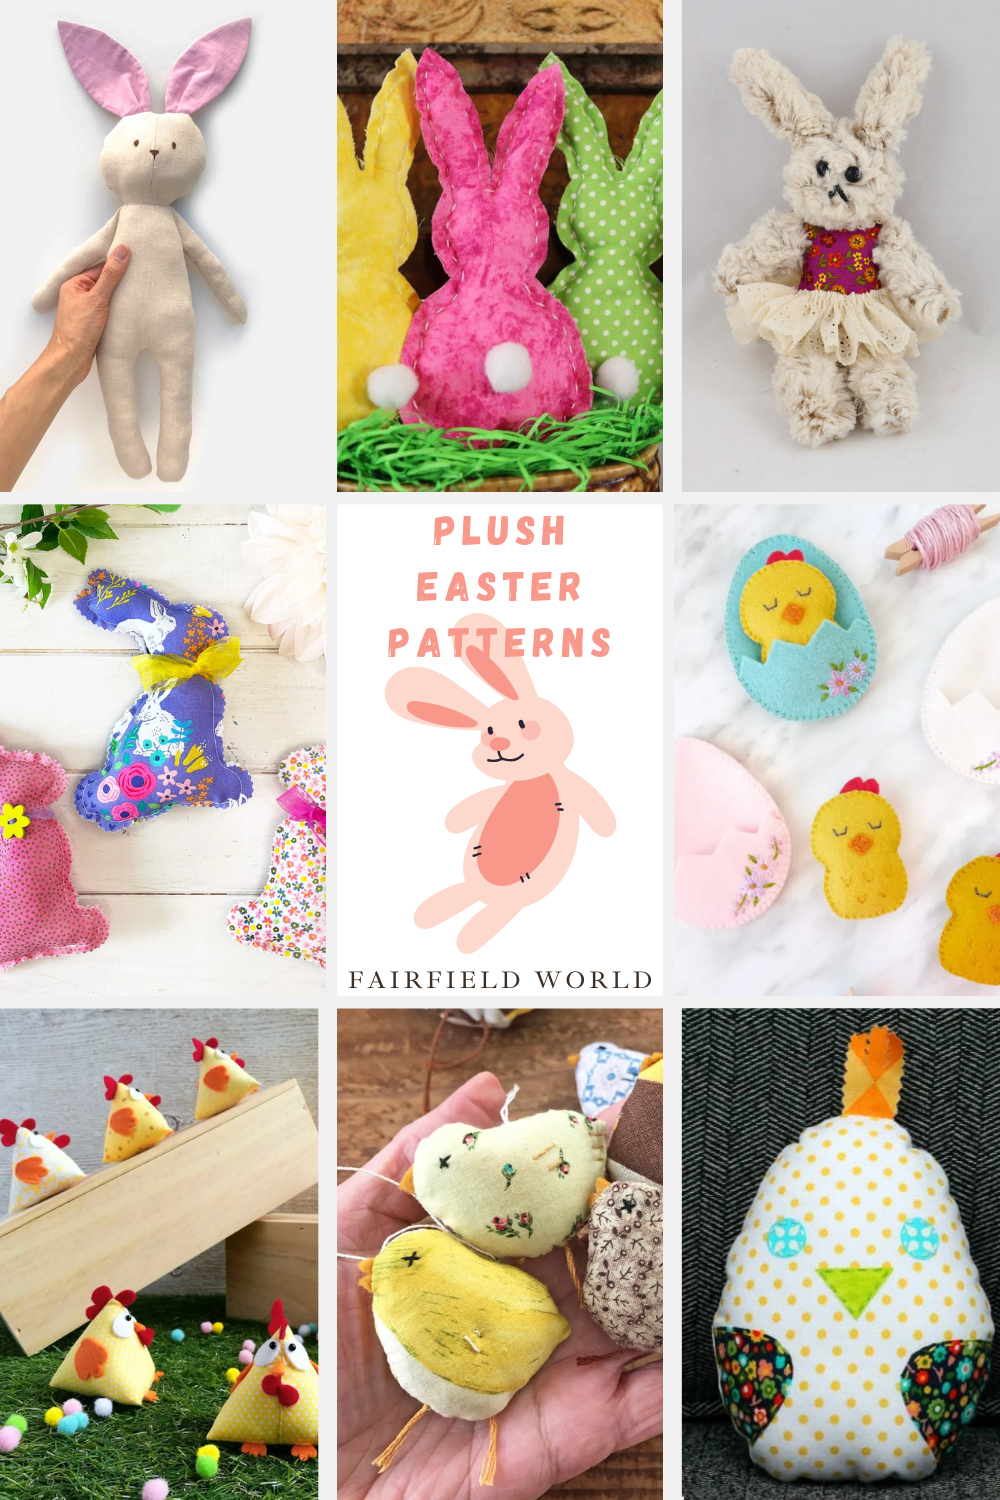
You’ve gathered your supplies and know what steps you need to take to make your plush Easter toys. Now you just need a pattern! Here are some adorable bunny and chick patterns I think you’ll love.
Ragdoll Bunny
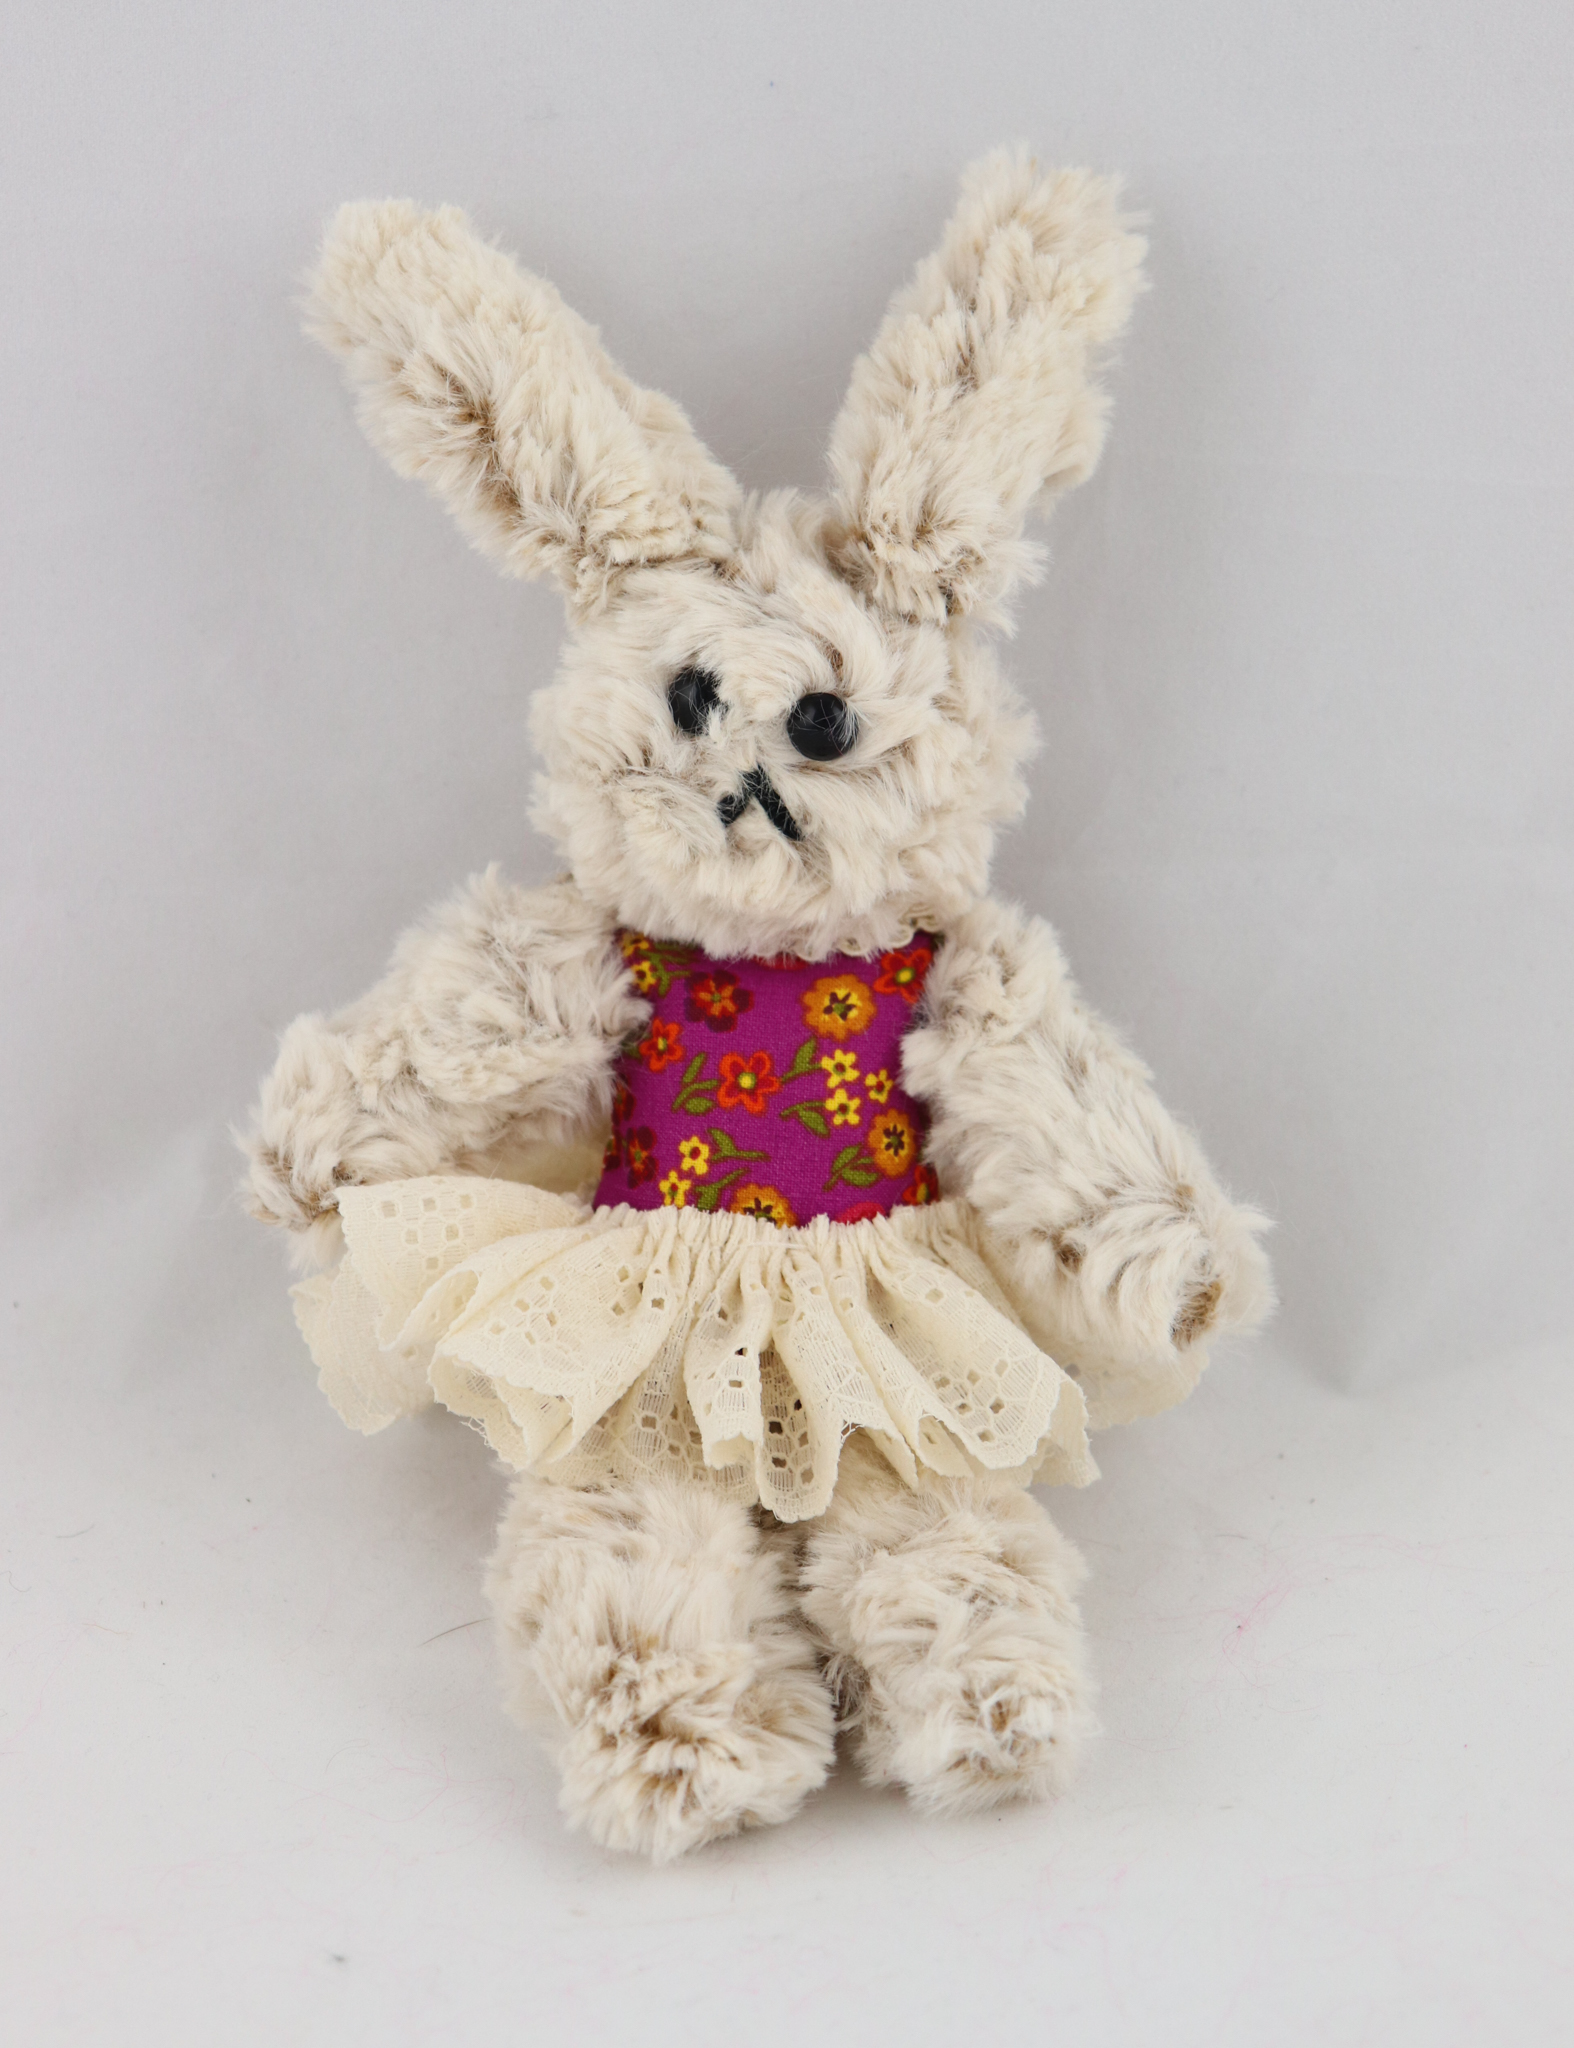
This first pattern is available for free on selected bags of Poly-Fil Fiber Fill. If you can’t find the bag at a store near you then click here to download it. This sweet little plush bunny can be customized by changing the color of the body and skirt.
Simple Bunny Pattern
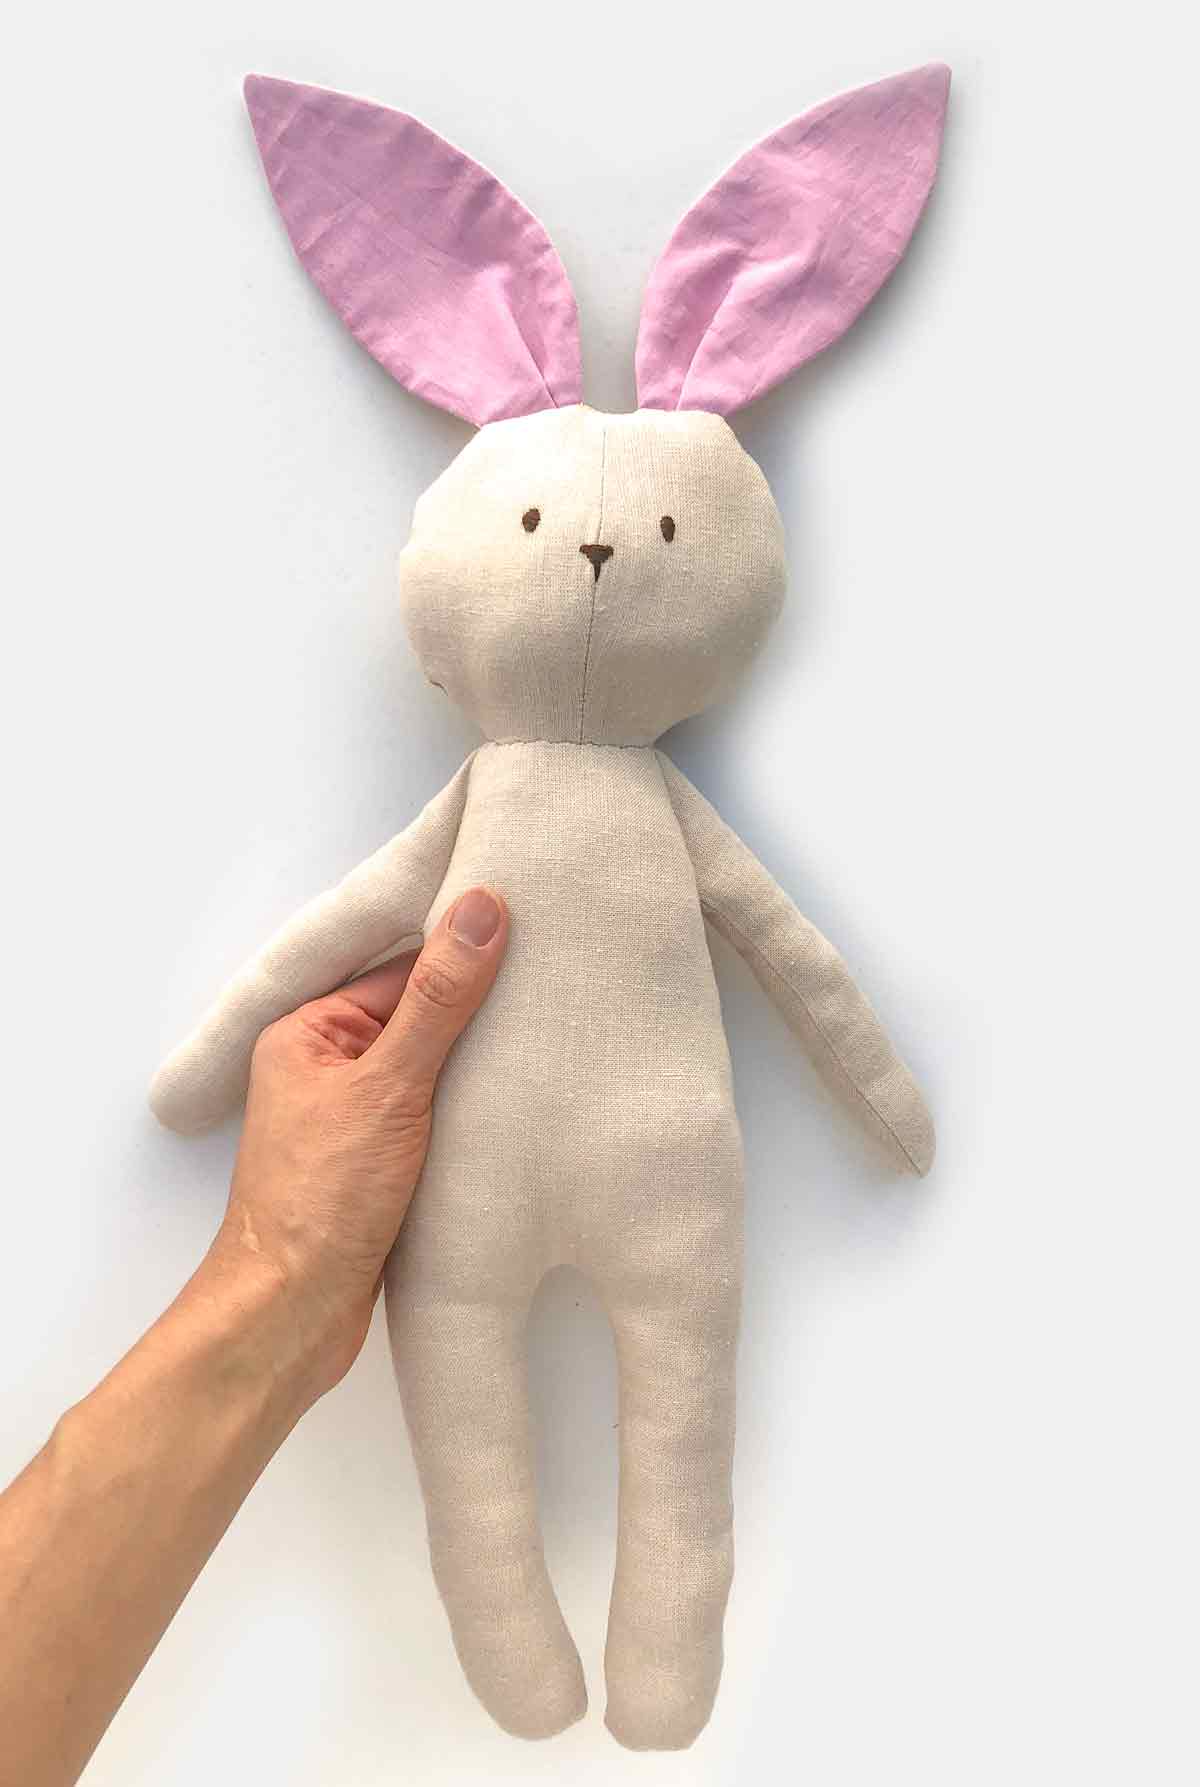
Mindy Makes has a free pattern for a simple bunny that you can make in lots of different colors or patterns. This is a great beginner friendly pattern.
Easy Sew Stuffed Bunny
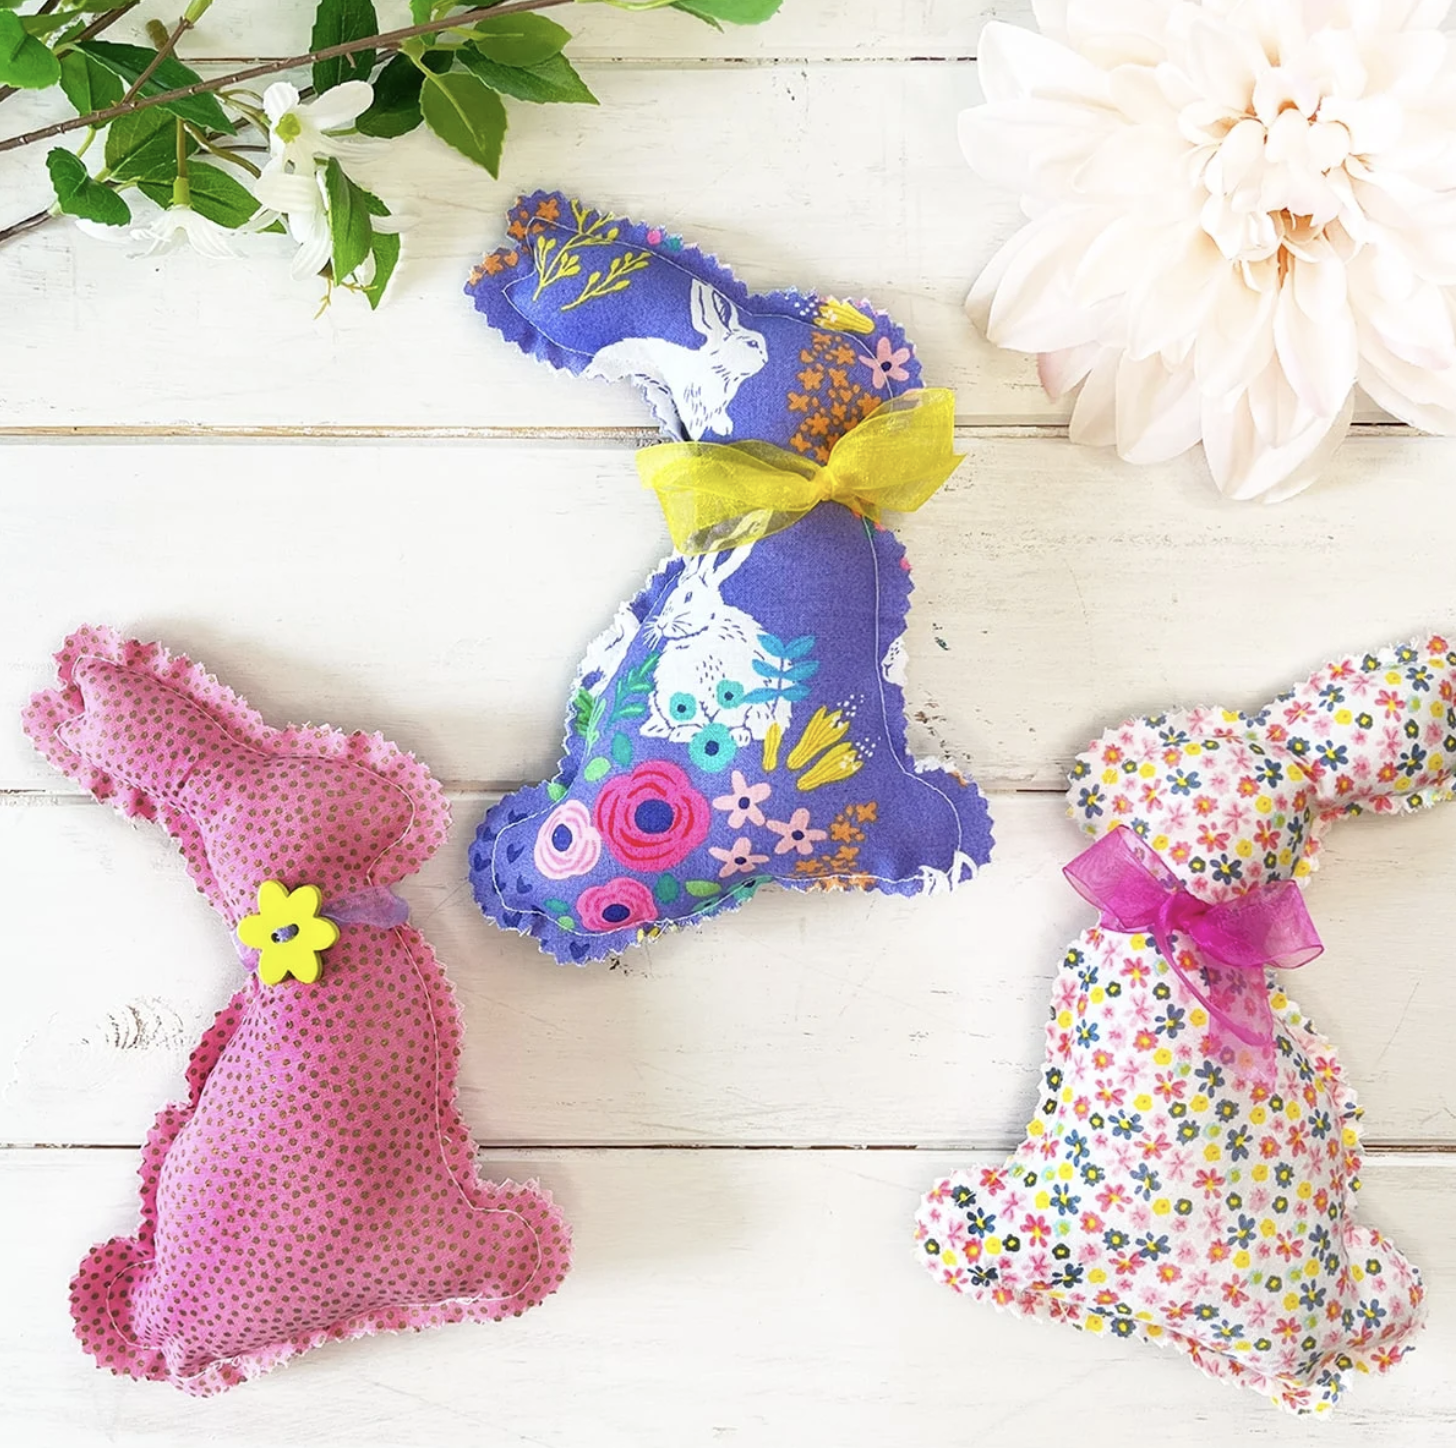
This style is modeled after the chocolate bunnies everyone loves to find in their baskets! Craft Idly’s free bunny pattern is another beginner friendly project.
Sophia the Bunny

While She Naps free bunny pattern will help you make a cute little softie. This plush bunny is perfect for little ones!
Easy to Make Bunny Plush

Cottontails are the cutest thing, and that’s what you’ll make with this easy project and pattern from Sustainable Slow Living.
Easter Chick Reversible Softie

You get two-for-one with this adorable pattern! This softie can be reversed to turn an egg into a chick, and then back again. Visit Orange Bettie to download the free pattern.
Easter Chick Softie
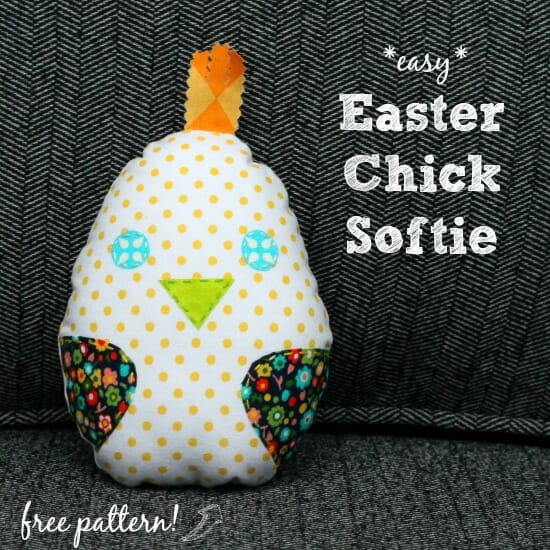
So Sew Easy’s pattern for an Easter chick is a great stash buster, making use of all the little bits of fabric you have left from other projects.
Little Chicks
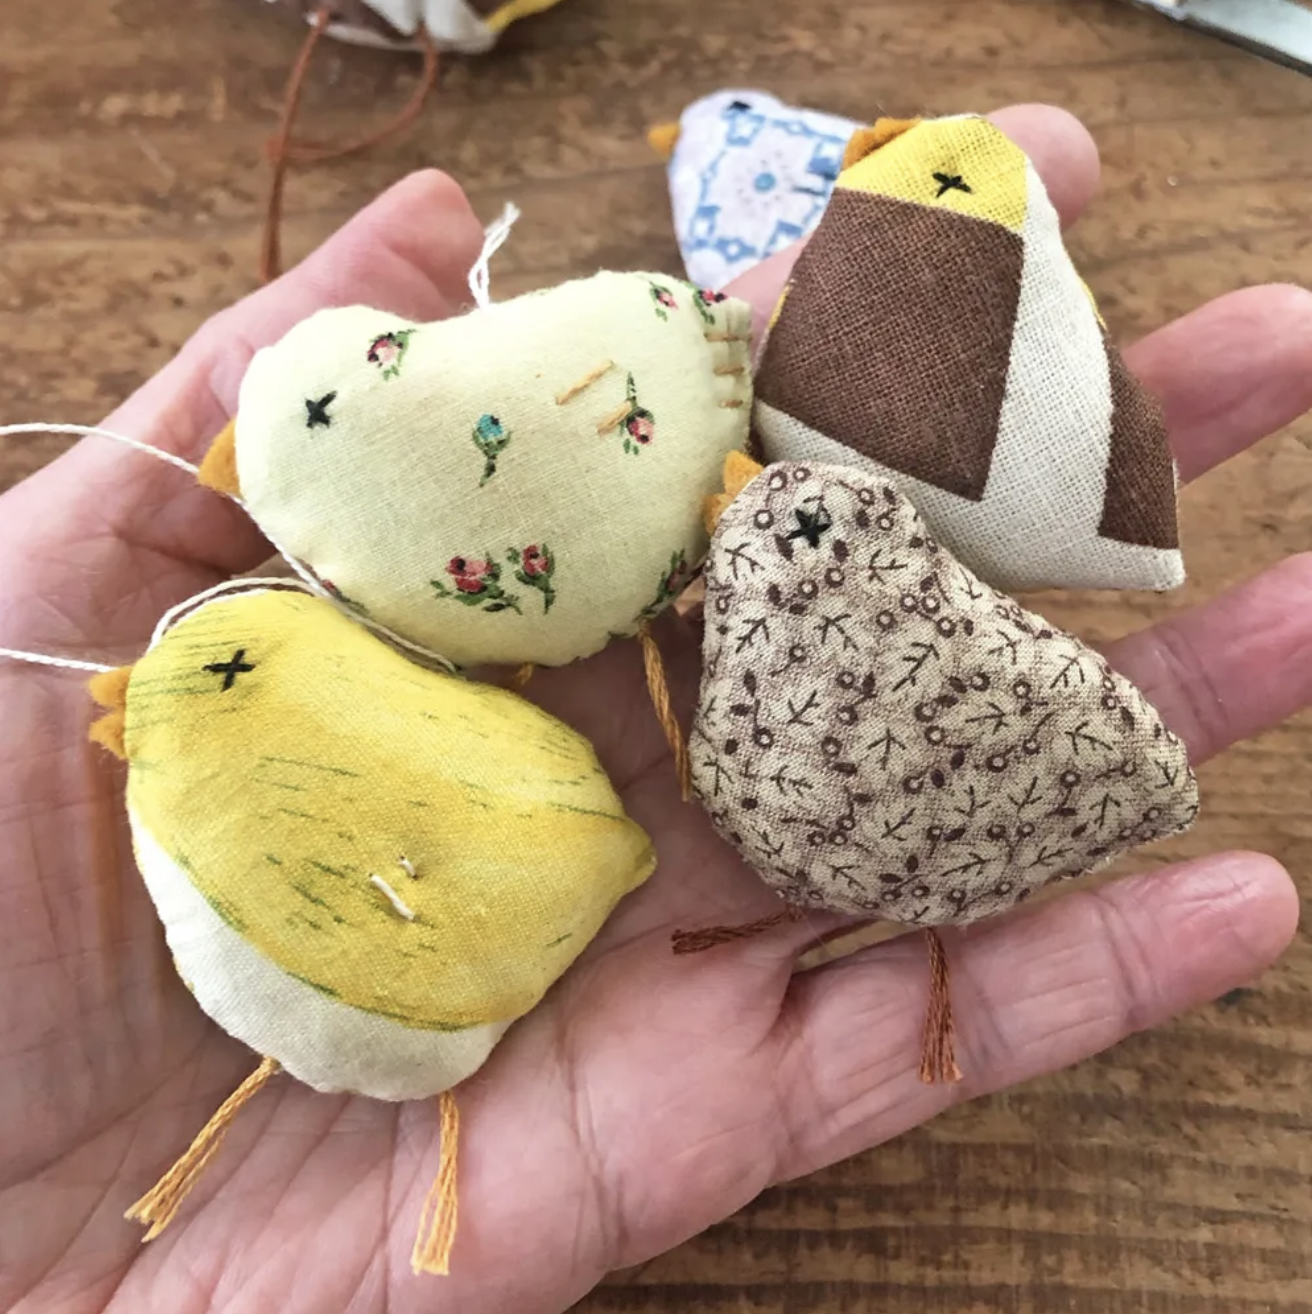
Sew tiny little chicks that will fit in Easter eggs with this free pattern by Ann Wood Handmade.
Felt Chick in Egg
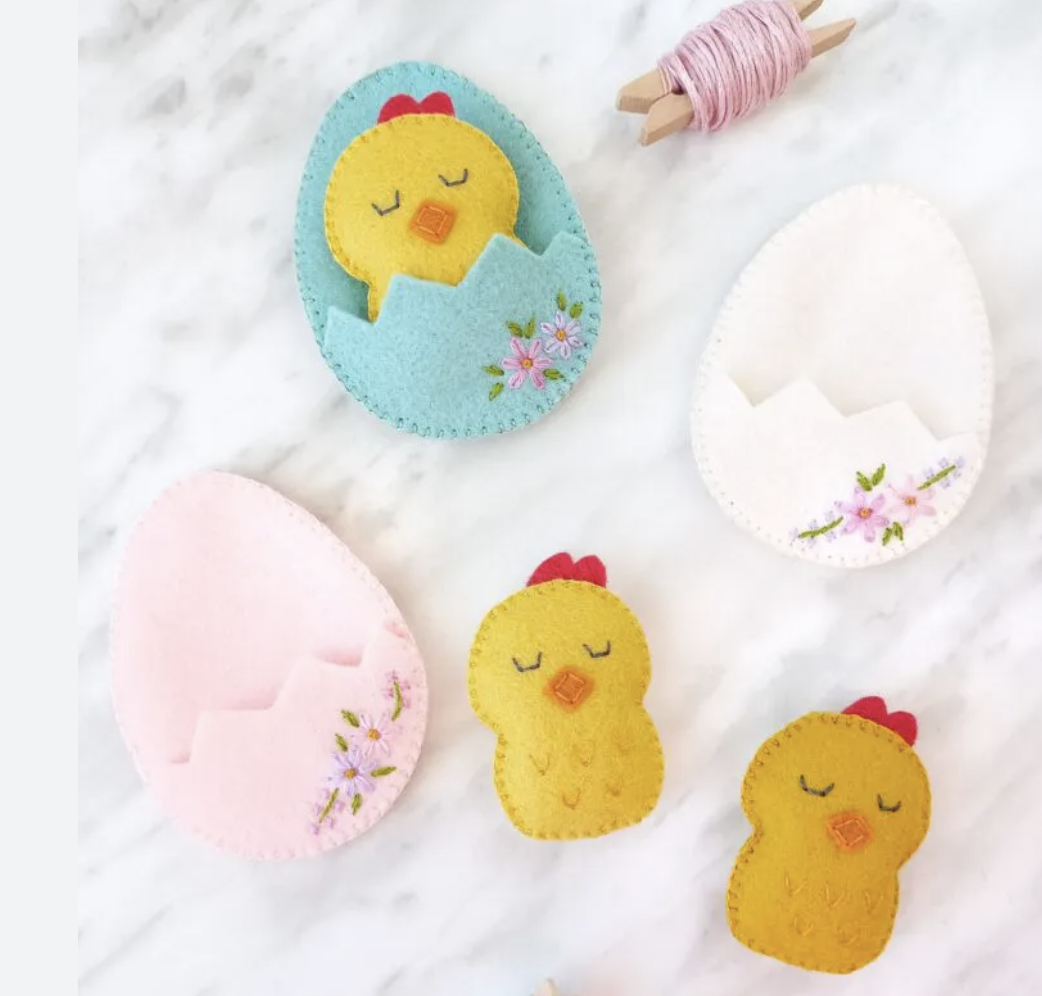
The Yellow Birdhouse has created the perfect Easter chick free pattern: a chick in an egg!
Lucky Chicken Pattern
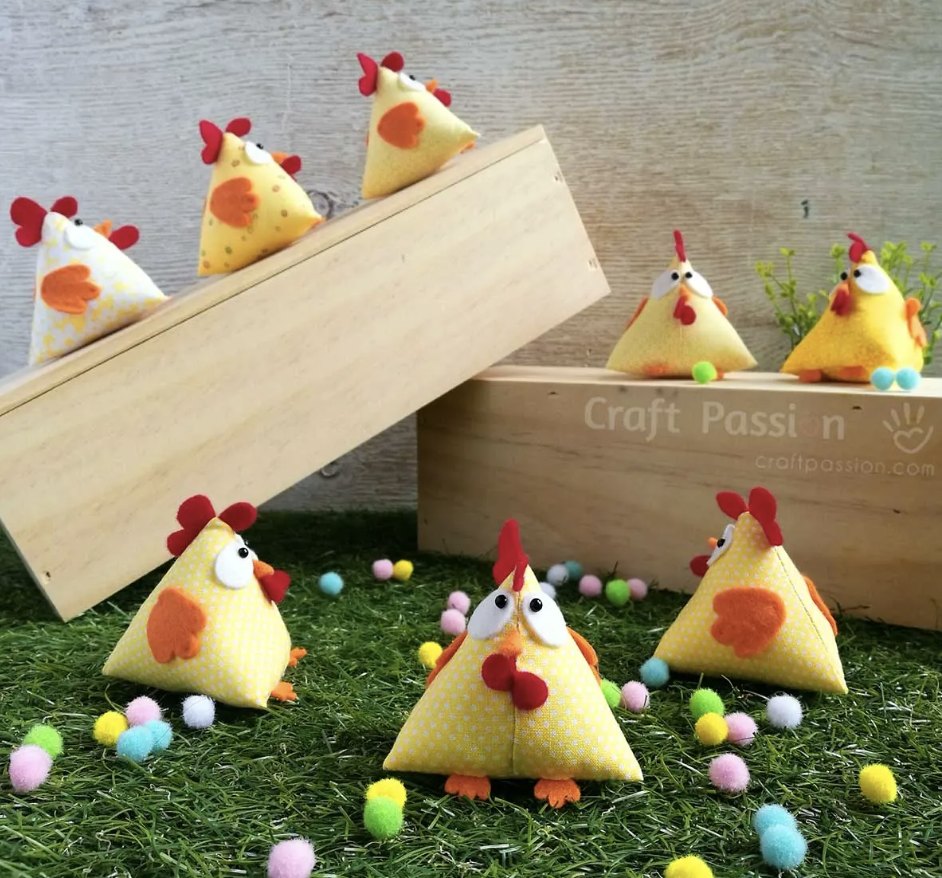
While Craft Passion’s free chicken pattern was intended for lunar new year, the pattern can be easily adapted for Easter. These cute and easy to make birds will keep little ones entertained as they toss them around!
Now that your bunnies and chicks are complete, you can display them in an Easter basket, gift them to friends and family, or use them as adorable springtime decor. Fairfield World’s Poly-Fil makes them extra soft and huggable, ensuring they’ll be cherished for years to come. For more beautiful Easter project ideas, check out our blog post on Easter Sewing Projects: 10 Free Patterns to Try. Happy crafting, and have a wonderful Easter!