Memory Pillow Tutorial

Categories: Gifts, Pillow

It can be hard to know what to do with a loved one’s clothes after they’ve passed away, especially those items which they wore so often that the clothes are well connected to them in our memory.Memory Pillow Tutorial
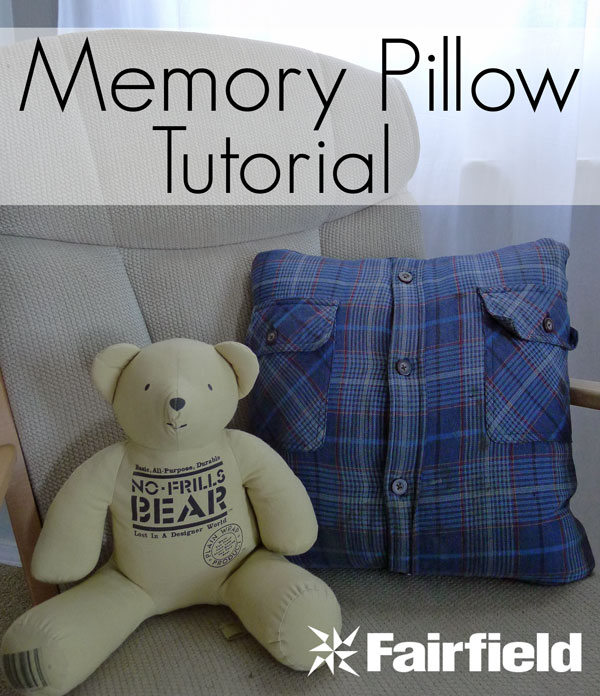
Turning a special shirt or sweatshirt into a pillow, quilt, or stuffie not only gives you a visual reminder, but also something to hug and hold onto.

My Granddad passed away about a year and a half ago, so last Christmas I used quite a few of my Granddad’s old western shirts to make quilts for my nana, mom, and uncle, but I still had a thick quilted jacket of his hanging in my closet.  It wasn’t the right texture for a quilt, but I thought it would make the perfect memory pillow for my Nana.

You may have to make a decision about whether or not to wash the clothes.  Granddad’s jacket had a few slightly dirty spots, but since it still had his lingering smell, I thought Nana would prefer it left as is.  We can always wash it later.

A memory pillow is really simple to make, especially if you’re working with a button-down shirt.

What you need to make this project

Materials
Soft Touch Pillow - 16" x 16"
Button-down Shirt or Jacket
Supplies
Thread, sewing machine, and scissors
Quick Shop

  • Instructions

    Step One

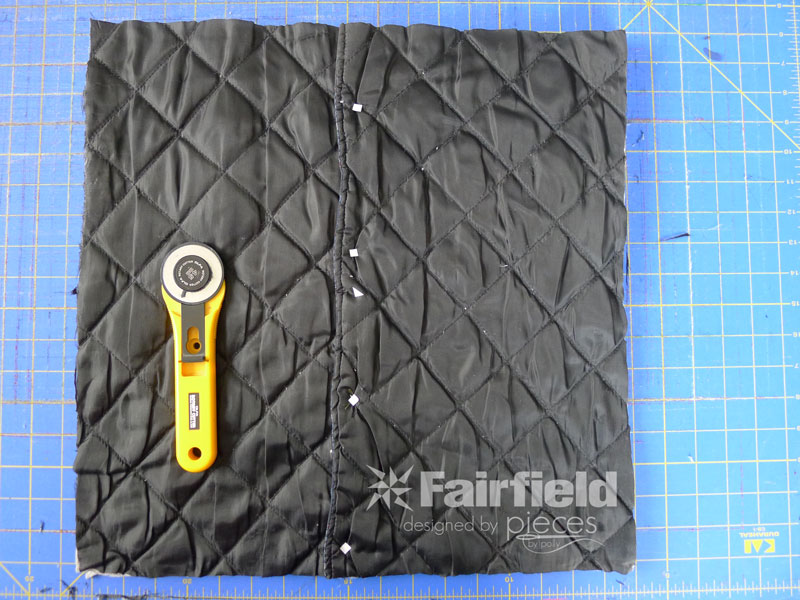
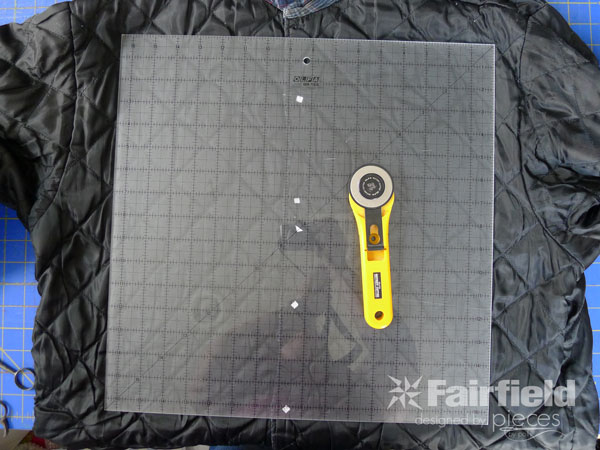
    Start by turning your shirt inside out. We’ll cut out the front and back layers at the same time, so that way, once it’s cut, we can immediately pin it everything will stay lined up. You’ll want to be sure to avoid any buttons when you cut your square out, so I marked the backs of the buttons with some pieces of tape.  That also helped me center them in the pillow.

    Memory Pillow


    Step Two

    You’ll want to cut your square out 1-inch larger than your pillow.  I was using a 16-in Pillow Insert, so I cut out 17-inch squares.
    Memory Pillow

    Step Three

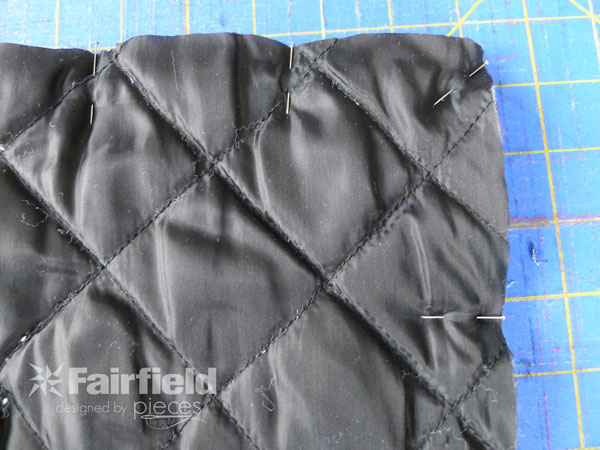
    Pin your squares together, so they don’t slip during sewing.
    Memory Pillow

    Step Four

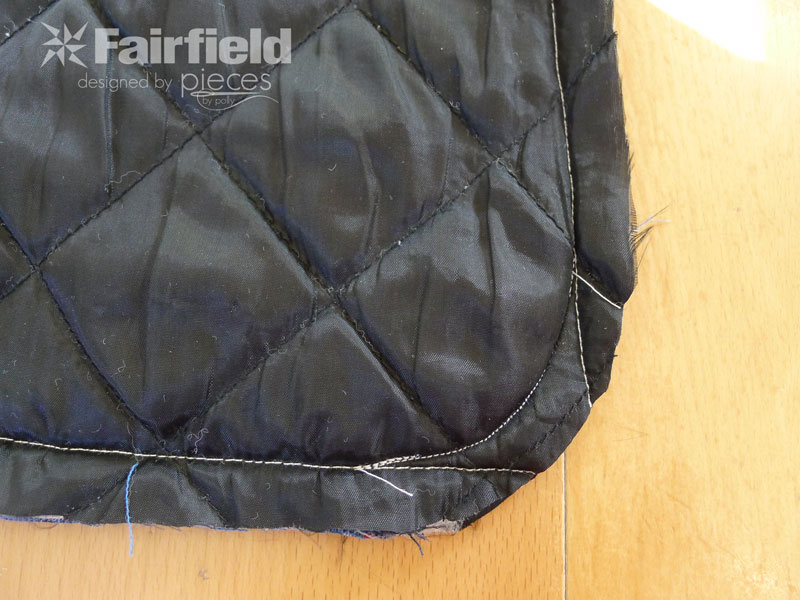
    Sew with 1/2 inch seam allowance.  Initially, I just sewed the square shape, but my fabric was so thick, I actually found I got a better finished result by rounding the corners.  Trim the fabric in the corners.
    Memory Pillow

    Step Five

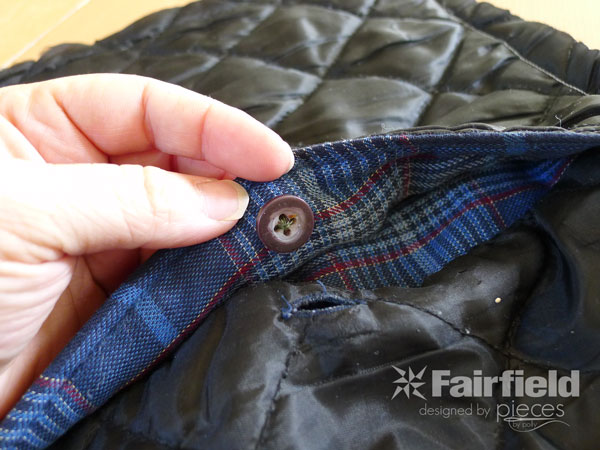
    Unbutton the shirt from the back.
    Memory Pillow

    Step Six

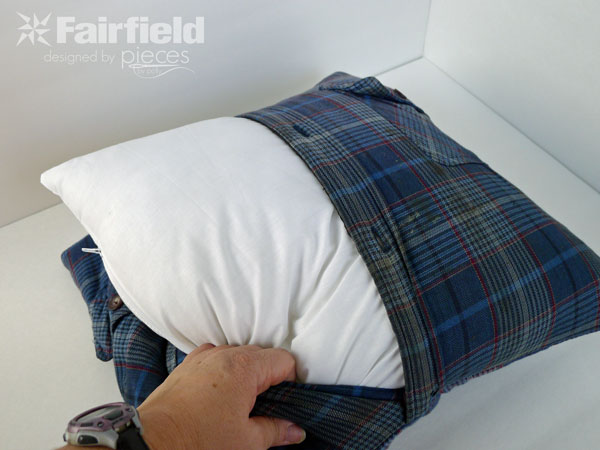
    Turn right side out and stick your pillow in.
    Memory Pillow

    Step Seven

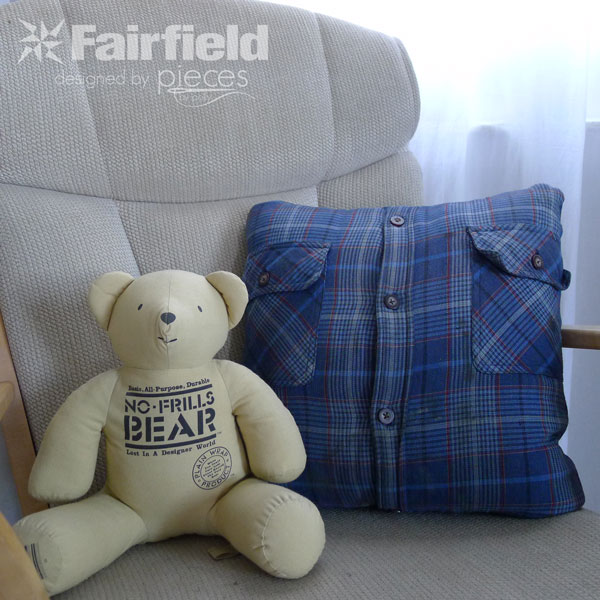
    My granddad used to have a collection of teddy bears that he distributed to his grandkids a while ago…so now the pillow will keep his bear company until I take it to my nana next week.
    Memory Pillow

    Step Eight

    You can see Granddad’s Memory Quilts here and my Sock Snowmen stuffies here.  You can tell from the pictures that he loved blue and maroon…at least to wear.

    Happy Pillow Making!

    ~ Polly from Pieces by Polly