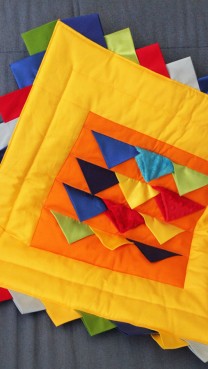
Start by cutting your fabric and Smooth Fusible Fleece for the tote.
Cut from outer fabric:
2 pieces: 2.5″ x 12.5″
2 pieces: 2.5″ x 16.5″
1 piece: 16.5″ x 16.5″
2 pieces: 4″ x 32″
From inner fabric:
2 pieces: 16.5″ x 16.5″
From fusible fleece:
2 pieces 16.5″ x 16.5″
2 pieces 3.5″ x 32″

Fuse the fusible fleece onto the back of each lining piece. Set aside.

Fuse the strips onto the straps, leaving 1/4″ seam allowance on either side. Set aside.

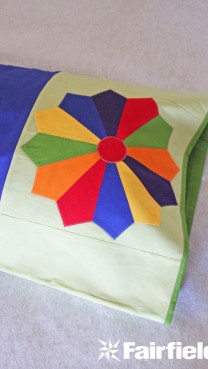
Stitch the two 12.5″ pieces to either side of the block.

Press.
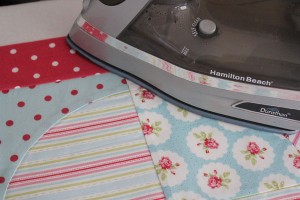
Stitch the 16.5″ strips to the remaining sides. Press.

Place the 16.5″ outer square on top of the framed quilt block, right sides together.

Stitch on three sides. Now we’re going to box the corners.
Open up, exposing one of the bottom corners. Finger-press flat. Using a ruler, mark in 1.5.”

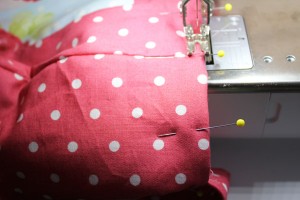
Pin the seam to secure.

Stitch on the line, cut off corner leaving a 1/4″ seam allowance.

Repeat these steps with the lining (place right sides together, stitch 3 sides, box corners).

Make the straps. Fold in half, stitch down the length with a 1/4″ seam allowance.

Use a bodkin or safety pin to turn the strap right side out.

Insert the bodkin into the strap, secure to the edge with the seam allowance, and tighten bodkin by moving the ring to the top.

Guide the bodkin through, turning the strap right side out.

Press the strap flat, with the seam down the middle of the back.
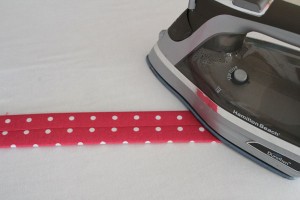
Top stitch on either side 1/4″ from each edge.

Mark the lining, 5″ from each side.

Pin the straps in place, the inside edge on the mark made in the last step, with the seam towards the lining fabric.

The straps should hang inside the bag, tucked out of the way.

Turn the outside piece right-side-out, and put inside the lining piece. Pin all the way around the top of the bag.

Stitch all the way around the top of the bag.

Make a 6″ hole in the seam on the bottom of the lining, and turn right side out through the hole. You could have left a hole when stitching the lining, but by doing it after, the marks left by the seam give you a guide to use when hand-stitching the seam closed.

Press the top edge, and top stitch 1/8″ away from the edge to create a finished look, and secure the top edge of the tote.
Hand-stitch the hole in the bottom closed using a ladder stitch to make the stitching nearly invisible.

Your quilt block tote is complete.