DIY Chair Foam and Fabric Update
Category: Decor
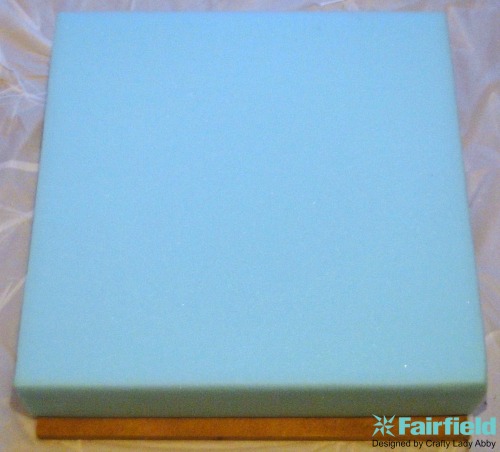
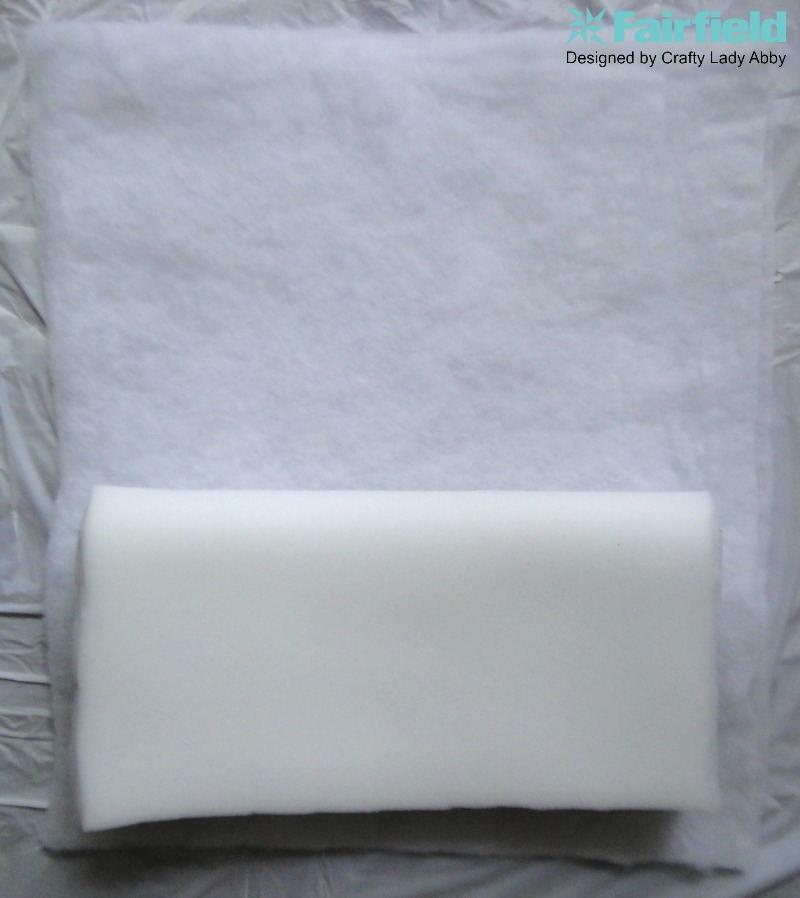
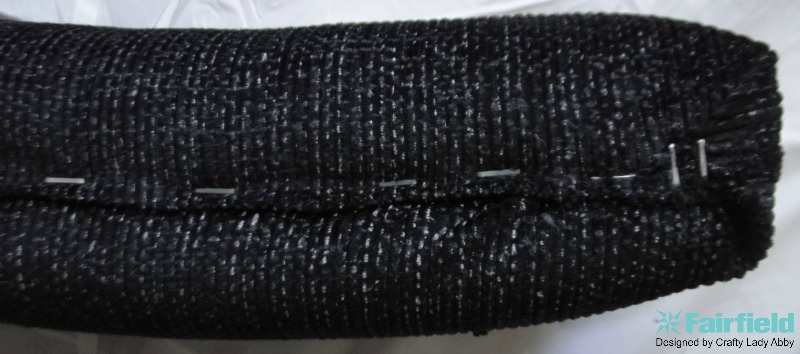
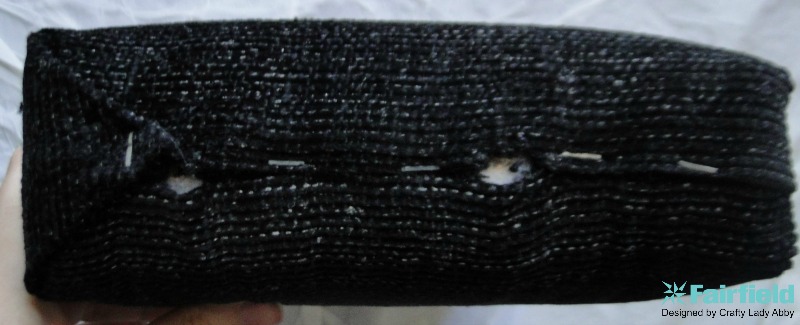
My dining room chairs got a long overdue foam and fabric update. They are hand me downs from my parents…that I got 13 years ago. They were mismatched from various periods of my parents recovering them. They are over 30 years old. One still had the original fabric (a 70s flashback vinyl) and all probably had the original foam. You all probably have chair like this. Ones that you love, but are uncomfy because the foam is worn out. They are ugly because your cats use them as a scratching post. You know the chairs I’m talking about. I was overjoyed to get the chance to give these chairs a much needed update, using Cushion Foam, Project Foam and Quilt Batting from Fairfield World. Unlike a normal reupholstering tutorial, I’m going to show you how to replace that worn out foam too!
Project Notes: The foam should hold up to regular use for about 5-8 years, but maybe longer. I’m hoping this fabric holds up to my cat’s scratching abuse. You want to choose a fabric made for upholstery, for the most durability. These will be thicker than your normal craft and clothing fabrics. They are available in many prices, colors, textures, and patterns. Choose ones that fit your style, aren’t trendy, and will coordinate with your decor. If your chair frame needs a little love, like cleaning, paint or restaining, tackle that while the seat and backing are off. As you can see, the chairs match my wood floors. They do need some cleaning though, which can be easily done with some wood cleaner and a rag or paper towel.
What you need to make this project
- Materials
- Project Foam 24" x 72" x 1" thick
- Soft Support Foam 22" x 22" x 4" thick
- Poly-Fill Low-Loft Batting 90" x 108"
- Supplies
- Upholstery fabric
- Aleene's Fast Grab Tacky Spray a
- A plastic table cloth
- Scissors
- A staple gun
- 1/2" staples
- Hammer
- A flat and phillips head screwdriver
- Pliers
- A ruler
- Chalk, a marker, or a pencil